How to Record a Quality Video Lecture Using Zoom and PowerPoint (with Presenter in Corner)
In today’s dynamic educational landscape, the ability to deliver compelling and polished video lectures has transitioned from a niche skill to an essential cornerstone of effective online instruction. No longer a mere enhancement, a professionally produced video is now an expectation for educators across all disciplines, from university professors to corporate trainers. It’s the visual handshake that establishes your credibility, the engaging delivery that holds your learners’ attention, and ultimately, the reflection of your commitment to providing a high-quality learning experience.
This blog post is your comprehensive guide to achieving just that: creating a professional-looking video where your meticulously crafted PowerPoint slides remain the undisputed star of the show. We will delve into the practical, step-by-step process of leveraging Zoom’s powerful features in conjunction with your presentations. Our goal is to empower you to record high-quality video lectures where your own video feed appears subtly, nestled in a small corner of the screen. This strategic placement provides that crucial personal connection—allowing your audience to see and relate to you—without ever becoming intrusive or distracting from the core content of your valuable slides. Get ready to transform your online presentations and elevate your teaching presence.
Phase 1: Pre-Recording Preparation
This is where most of the quality is built in—don’t skip these steps.
1. Optimize Your Environment
A professional recording starts with your physical space. Think of your environment as part of your production team.
Lighting
- Natural Light: Sit facing a window for soft, even illumination.
- Artificial Light: Use a ring light or diffused desk lamp if natural light isn’t available.
- Avoid Backlighting: Light coming from behind will make you appear as a shadow.
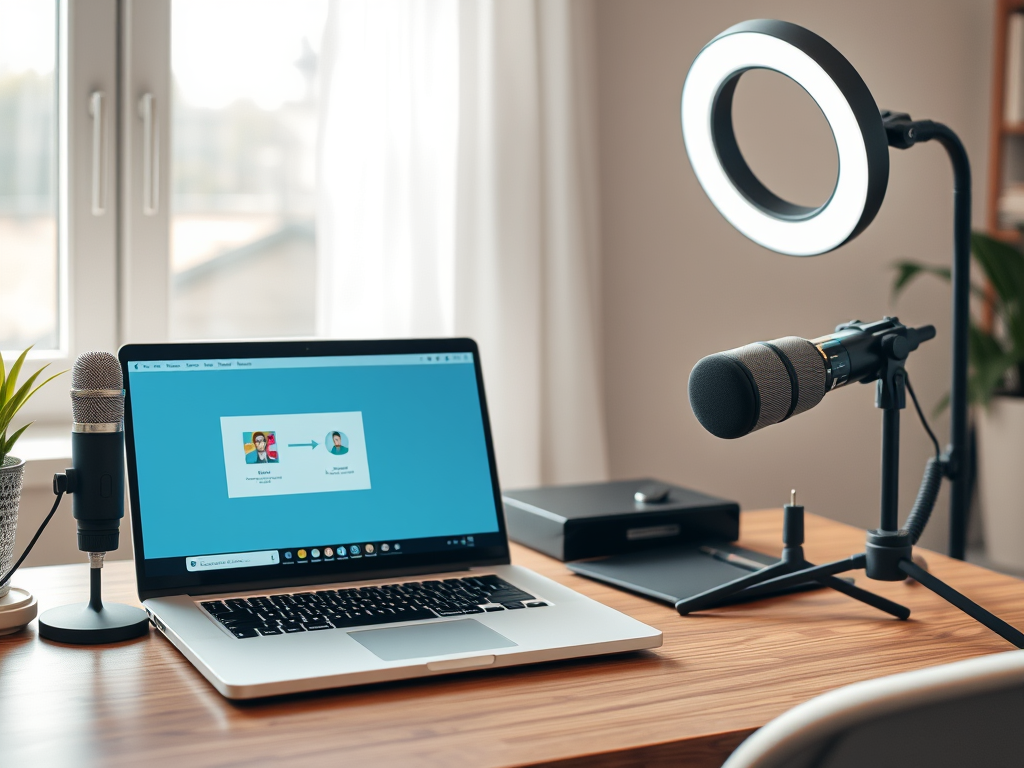
Audio
- Use an External Microphone: Built-in mics often sound tinny and distant. A USB mic like the Blue Yeti or Rode NT-USB Mini can dramatically improve sound clarity.
- Quiet Room: Turn off all notifications and minimise background noise. Inform others you’ll be recording.
- Reduce Echo: Soft furnishings (curtains, rugs, cushions) absorb reverb.
Background
Keep it simple and tidy. A plain wall works best. Remove clutter and visual distractions. Avoid anything that pulls focus from your content.
Internet Connection
If you’re recording to the cloud, ensure a stable, high-speed internet connection. For local recording, this is less critical but still important.
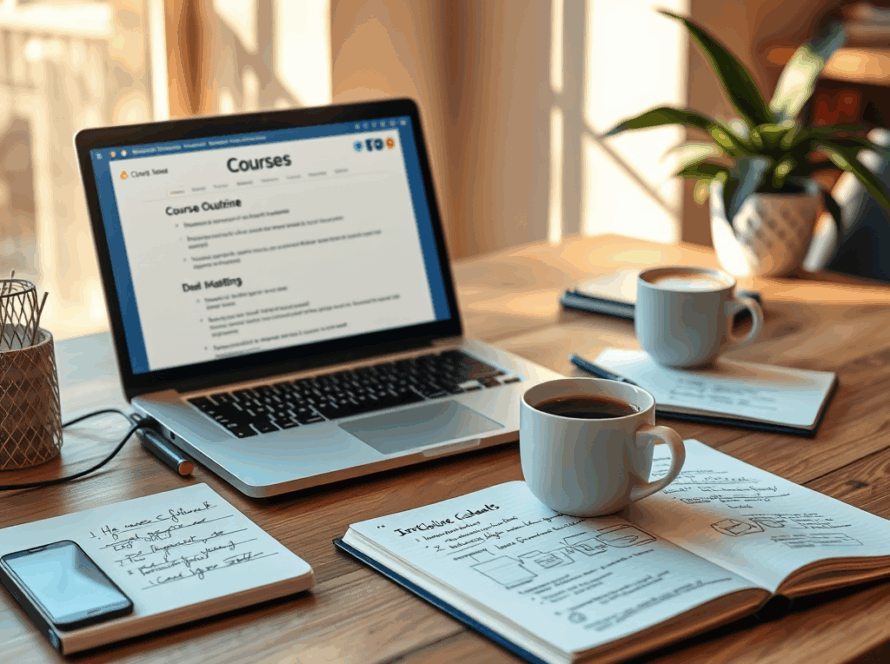
2. Prepare Your PowerPoint Presentation
This is not your usual slide deck. Design with the final video layout in mind.
- Clarity is Key: Use large fonts (24pt+), concise text, and high-contrast colour combinations.
- Leave Presenter Space: Reserve a corner—typically top right or left—free of text or graphics. This is where your video feed will go.
- Use Visuals Wisely: Include high-res charts, diagrams, and images. Avoid overloading slides with text.
- Practice: Rehearse the entire presentation multiple times. Know your content well enough to avoid reading verbatim.
3. Configure Zoom Settings
Proper Zoom settings ensure your recording turns out polished.
Recording Settings
- Go to zoom.us > Sign In > Settings > Recording
- Local vs. Cloud Recording:
- Local Recording: Recommended for best quality.
- Cloud Recording: Convenient but dependent on internet quality.
- For Video-in-Corner Layout:
- Enable: “Record active speaker with shared screen” or “Record gallery view with shared screen.”
- Look For: “Record thumbnails when sharing” or “Place video next to shared screen.”
- If Editing Later: Enable “Optimise for 3rd Party Video Editor”.
Video Settings
- Zoom Desktop App > Settings > Video
- Enable HD.
- Optional: “Touch up my appearance” and “Adjust for low light”—use sparingly.
Audio Settings
- Zoom Desktop App > Settings > Audio
- Select your external microphone.
- Adjust input volume so you’re in the green zone.
- Set “Suppress background noise” to Auto or Low.
- Enable “Original Sound” for full audio fidelity—especially useful for music or nuanced sound.
Phase 2: Recording the Video Lecture in Zoom
1. Start a New Zoom Meeting (Solo)
Launch Zoom and click New Meeting. You’ll be the only participant. Make sure your camera and mic are turned on.
2. Check Audio and Video
- Speak aloud: Watch for the green mic indicator.
- Check camera: Frame yourself well. Keep your head and shoulders in view with ample lighting.
3. Open PowerPoint
Load your presentation, but don’t enter Slide Show mode yet.
4. Share Your Screen with Slides as Virtual Background
This feature makes the magic happen.
- Click Share Screen > Advanced tab.
- Choose Slides as Virtual Background.
- Select your PowerPoint file when prompted.
- Zoom imports your slides, and your video feed will appear on top.
5. Adjust Your Presenter Feed
- Drag and drop your video to a corner with strategic white space.
- Resize it to be just visible enough—not distracting.
- This creates the “tiny corner presenter” look you’re aiming for.
6. Start Recording
- Click Record in the Zoom toolbar.
- Choose Record on this Computer for the best quality (or Cloud if preferred).
- A recording indicator will confirm you’re live.
7. Deliver Your Presentation
- Use your keyboard arrows or Zoom controls to navigate.
- Speak naturally and with energy.
- Look into the webcam often to simulate eye contact.
8. Pause or Stop Recording as Needed
- Use Pause for small breaks or mistakes.
- Use Stop if you’re recording in sections.
9. End the Meeting
Click End Meeting for All. Zoom will begin processing your video.
Phase 3: Post-Recording & Final Touches
1. Conversion Process
After the meeting ends, Zoom will automatically convert your recording. Don’t close Zoom until this finishes. When done, a folder with your files will open.
2. Locate Your Recording
- Local Recording: Check Documents > Zoom folder on your computer.
- Cloud Recording: Zoom will email you a link. You can also access it via the Zoom web portal.
3. Review and Edit
- Watch your full video.
- Use basic editing software (iMovie, Wevideo, Windows Video Editor) to:
- Trim dead space.
- Adjust brightness or sound levels.
- Add intro/outro segments for branding.
4. Share Your Video
Upload your final product to:
- YouTube, Vimeo, or your Learning Management System (LMS) like Moodle or Canvas.
- Choose appropriate privacy settings (public, private, or unlisted).
Expert Tips to Elevate Your Videos
- Do a Test Recording: Always do a 1-2 minute test before the real deal.
- Stay Engaging: Keep your tone upbeat and dynamic.
- Work from a Script or Outline: Prevent rambling and ensure you stay on point.
- Keep it Short: Break long lectures into 10–15 minute modules.
- Look at the Camera: Helps your audience feel you’re speaking directly to them.
- Dress for Camera: Solid colours work best. Avoid stripes or busy patterns.
By following this complete guide, you’ll produce a polished, high-quality video lecture that not only delivers your content effectively but also helps you connect with your learners—even from behind a screen. Remember, the extra effort in preparation makes all the difference in presentation.
Next, we’ll look at how to organise your video lectures into a full online course with compelling flow and structure.